

No Products in the Cart


How to Fit a Compressed Air Line Filter Element: Order, O-Rings and First Start
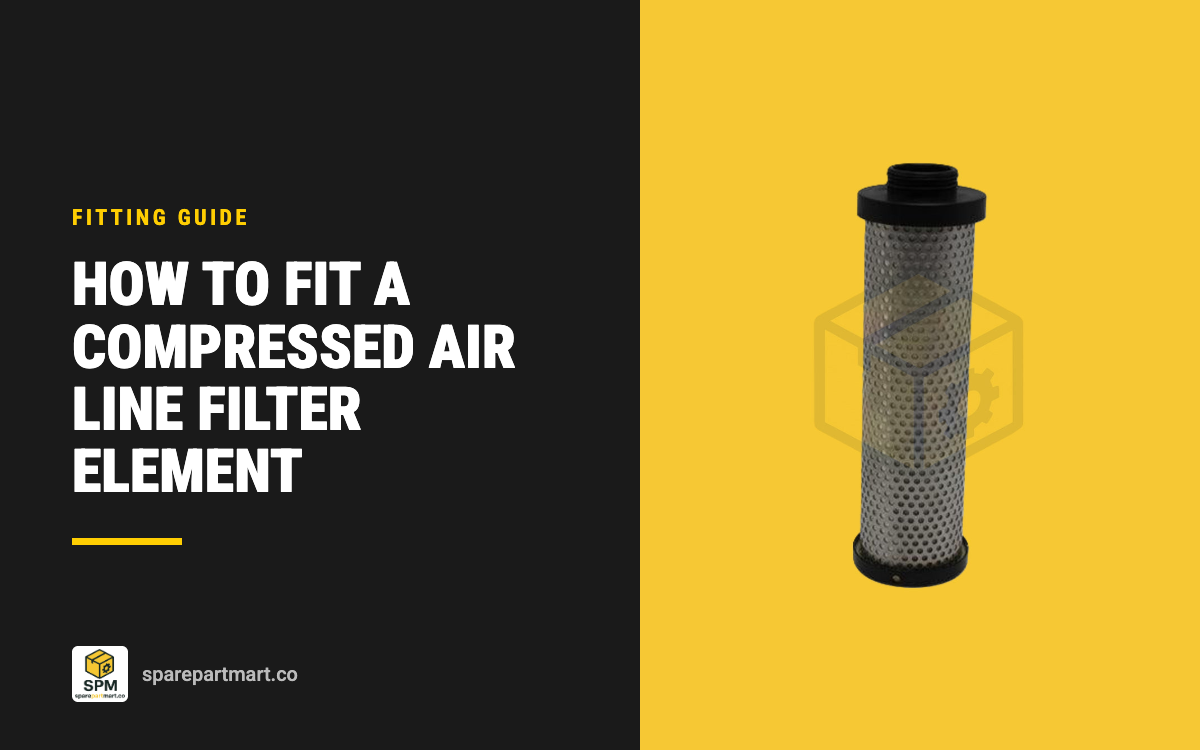
To fit a compressed air line filter element, isolate and slowly vent the housing, unscrew the bowl, pull the old element off the head, clean the bowl, head and drain, grease the new element's O-ring with a silicone free grease, push it onto the head, refit the bowl hand tight and bring the pressure back up slowly with the outlet valve shut. The two mistakes that cause most early failures happen before you even touch a spanner: putting the element in the wrong housing, and putting the housings in the wrong order. An activated carbon element must always sit after the coalescing filters, never in front of them.
Check the grade before you open anything
Line filters are often installed as a row of two or three housings, and on Atlas Copco filters the housings for one flow size take elements of almost identical dimensions. Our three Atlas Copco size 60 elements show the problem clearly. The DD60 general purpose element and the PD60 high efficiency element are both 61 mm across and 207 mm tall. The QD60 activated carbon element is 60 mm across and 207 mm tall. All three slide onto the same filter head. Nothing physical stops a carbon element going into the first housing in the line.
We list 337 in-line filter elements. Of the 214 with media data, 129 are borosilicate glass fibre coalescing elements, 50 are activated carbon and 33 are cellulose particulate elements. The glass fibre elements are rated 0.01 µm, 0.1 µm or 1 µm, and the grade is carried in the part code. Read the grade on the housing label or the old element's end cap before you order, and match it on the new one. If the label is gone, our compatibility page lists the cross references for every element.
On Atlas Copco filters the letters carry the grade. In our data the DD elements are 0.1 µm with a 50 mbar pressure drop, PD elements are 0.01 µm with 80 mbar, and QD elements are activated carbon with 60 mbar. The element you fit for order SPM-INF-1061 is a QD60 carbon element, so it belongs in the last housing of the row.

Why the carbon element goes last
The coalescing elements and the carbon element do different jobs. Atlas Copco describes its DD and PD elements as removing oil aerosol, wet dust and water drops. Its QD carbon elements remove oil vapour by adsorption, down to a residual oil content below 0.003 mg/m³, and the maker's instruction for the QD housing is to precede it with a DD and PD pair or a UD filter. The carbon stage is there for vapour. The maker's layout takes the liquid oil and aerosol out in the coalescing stages before the air reaches it.
Temperature is the second reason. Every one of the 50 carbon elements in our data with a temperature rating is limited to 45 °C. The glass fibre and cellulose elements are rated to 65 °C. Every element with a minimum rating in our data has a 1.5 °C minimum. The order is general purpose coalescing first, high efficiency coalescing second and carbon last, and the carbon housing has to sit where the air is below 45 °C.
When you replace all three elements in a row at once, line them up in order on the bench before you start and take them out of their bags one housing at a time.
Shut down and vent the housing safely
Never open a filter bowl under pressure. Close the valve upstream of the filter, then let the pressure out slowly. The manual for one widely sold line filter range (the MTA HEF 005 to 240 series) says the pressure must come down gradually to avoid damaging the element, and those housings have a small calibrated hole in the head that whistles if you start to unscrew the bowl while there is still air in it. If you hear a whistle, stop and screw the bowl back in.
- Close the outlet valve as well so plant air does not flow back into the housing.
- Open the manual drain valve to vent the last of the pressure and empty the bowl.
- Check the gauge reads zero before you grip the bowl.
Fitting the new element step by step
- Unscrew the bowl. Housings with external ribs on the bowl are designed to be gripped by hand. On the larger MTA housings (HEF 094 and up) there is also a hexagonal nut holding the element to the head; remove it first.
- Pull the old element straight down off the head. Push-on elements such as the Atlas Copco DD, PD and QD range seal on one O-ring and come off without tools.
- Clean the bowl and the drain. The MTA manual lists both at every element change. The oil and water the coalescing element removes leave through that drain.
- Clean the head, especially the seat the element pushes into. The O-ring seals against this seat, so it has to be clean.
- Grease the O-ring and the sealing faces of the head and the element. The MTA manual specifies a multipurpose grease that is silicone free.
- Push the element firmly onto the head until it seats. The O-ring makes the seal. Refit the hexagonal nut on the larger housings.
- Refit the bowl and tighten it fully. Check the bowl O-ring is in its groove and undamaged first.
- Mark the date. MTA supplies a sticker for the bowl showing the month and year the next element is due. A marker pen on the bowl does the same job.
New housings: three installation checks
If you are fitting a new housing rather than only a new element, three more points from the same manual apply.
- Flow direction. The arrow on the filter head must point the same way as the air flow. Coalescing elements in these housings work inside to outside: air enters the core of the element, the oil droplets gather on the outer sleeve and run down into the bowl.
- Vertical, with room below. The housing must hang vertically with the bowl down, and there must be enough clear space under it to remove the bowl and the element.
- The drain port plug. New MTA housings are shipped with a plastic plug in the drain connection that does not withstand pressure. Replace it with an automatic drain or a 1/2 inch metal plug before you pressurise. Clean swarf out of the pipe ends and the head after you cut and thread the pipe, or the first blast of air carries it into the new element.
First start: bring the pressure up slowly

The start up sequence in the manual is short and worth following exactly.
- Close the downstream valve so the housing fills from one side only.
- Open the upstream valve slowly. The manual asks for this to be done slowly to avoid damaging the element.
- Let air blow out through the drain for a few minutes, then close the drain.
- Check the bowl and the head joint for leaks while the housing is at full pressure.
- Open the downstream valve and put the plant back on line.
If the housing has a differential pressure gauge, note the reading in the first hour. It is your clean baseline. The new element ratings in our data are 50 mbar for a 0.1 µm element, 80 mbar for a 0.01 µm element and 60 mbar for carbon. If a brand new element reads well above that, check the grade on its end cap, check it is fully seated and check that the drain is clearing.
Mistakes that shorten element life
- Carbon fitted first or alone. It meets the liquid oil and aerosol that the maker's layout removes before the carbon stage.
- A drain that does not drain. The MTA manual calls for a check of the condensate drain at least once a week on the coalescing grades.
- Skipping the grease. The whole seal depends on one O-ring seating fully on a clean, greased face.
- Opening under pressure. Venting fast or unscrewing a pressurised bowl can damage the element and is a safety hazard.
- Running carbon too hot. Above 45 °C the carbon elements in our range are outside their rating.
- Waiting for the gauge on carbon. Neither maker gives a pressure drop limit for carbon elements. Both give a time: Atlas Copco gives 2,000 operating hours or one year for a QD+ element, and MTA says at least once a year and every six months in some applications. For the coalescing grades MTA gives at least once a year or a 0.6 bar pressure drop, whichever comes first.
If oil keeps turning up downstream with new elements in place, the problem is usually upstream of the filters. Our guide to diagnosing oil carryover from a compressor walks through the separator and the checks around it.
Every element we list, including the full set for each housing size, is in the in-line filter collection. If you have a housing with no readable label, send a photo and the dimensions through the quote request form and we will match the elements.
Frequently asked questions
Can I put a DD element in a QD housing if the sizes match?
It will fit, but the housing then does a different job. The line loses its oil vapour stage, and the label on the housing no longer tells the next person what is inside. Fit the grade the housing was specified for.
Which way does the air flow through a line filter element?
Follow the arrow on the filter head. In the coalescing elements we list with a stated flow direction, air flows from the inside of the element to the outside, and the oil drains off the outer sleeve into the bowl.
What grease should I use on the O-ring?
The MTA manual specifies a multipurpose grease that is silicone free, applied to the O-ring and to the sealing faces of both the head and the element.
How often should I change a carbon element?
On time rather than on pressure drop. Atlas Copco gives 2,000 operating hours or one year for its QD+ elements. MTA gives at least once a year, and every six months in some applications.
Do I need to change all three elements at the same time?
Changing a full set together keeps the service dates aligned and is the simplest way to stay on schedule. If you change them separately, keep each one on its own schedule, and never let the coalescing elements run overdue: the carbon stage depends on them.
