

No Products in the Cart


How to fit a seal ring in a handheld laser welding gun: size, seating and first weld
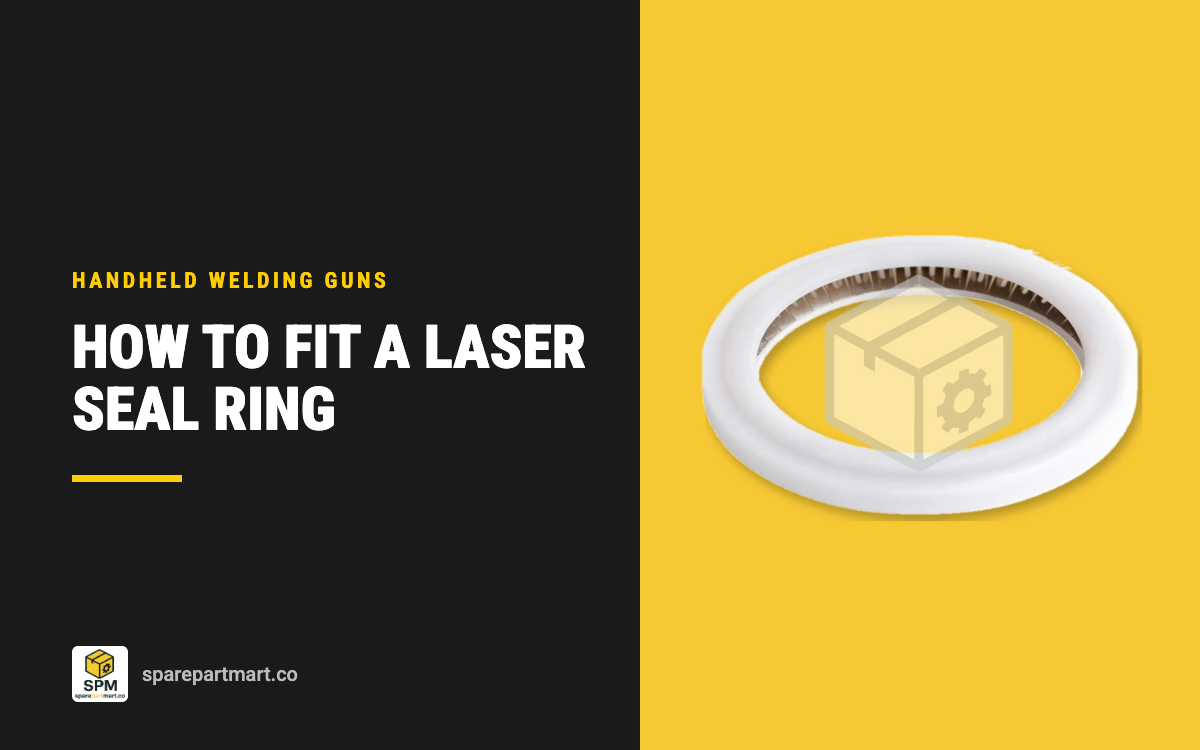
To fit a new seal ring on a handheld laser welding gun, switch the laser off, clean around the protective lens drawer, pull the drawer and cover the opening at once, then lift the old ring out with a plastic tool, wipe the seat with alcohol and press the new ring in evenly with clean, gloved fingers. Refit the lens, slide the drawer in with the head pointing down and check the red aiming light before you weld. Before any of that, measure the old ring: several guns take rings that share an outside and inside diameter and differ only in thickness, by as little as 0.1 mm.
This guide is written for anyone who has just received a ring such as our 20.5 x 16 x 2.5 mm seal ring for Qilin guns. The same steps apply to the SUP, WSX, Ospri and Hanwei rings, and the last section covers the two Raytools cutting head rings.
What the seal ring does
The seal ring sits in the protective lens drawer. It holds the protective lens flat and stops fume, spatter and shielding gas getting past the lens to the focusing lens above it. Once dirt reaches the focusing lens, the damage spreads up the beam path.
Our handheld rings are high temperature PTFE with a stainless steel spring core. The spring keeps the ring pressing on the lens after it has been squeezed and heated many times. When the PTFE flattens, hardens or discolours, the spring can no longer make up the difference, the lens sits loose and the seal leaks. That is why the ring is a consumable.
Match the ring to the gun and the lens
Each gun maker uses its own drawer, and the ring has to suit both the drawer and the lens thickness. These are the five handheld rings we stock, all sold in 5 and 10 packs:
- SUP: 21 x 15 x 2.7 mm, with the 18 x 2 mm lens. Fits SUP20S, SUP20T, SUP21T, SUP23S, SUP23T and SW150 guns. SUP seal ring, 5 pack see current price.
- Qilin: 20.5 x 16 x 2.5 mm, with the 20 x 2 mm lens. 5 pack see current price.
- WSX: 20.5 x 16 x 2.4 mm, with the 18 x 2 mm lens. WSX seal ring.
- Ospri: 21 x 15 x 3 mm, with the 20 x 3 mm lens. Ospri seal ring.
- Hanwei: 22 x 16 x 2.9 mm, with the 20 x 4 mm lens. Hanwei seal ring.
Sizes are outside diameter x inside diameter x thickness. The Qilin and WSX rings are both 20.5 x 16 mm and differ by 0.1 mm in thickness, yet they go with different lenses. The SUP and Ospri rings are both 21 x 15 mm and differ by 0.3 mm. Side by side, each pair looks identical. A ring that is too thin leaves the lens free to rattle under gas pressure; one that is too thick stops the drawer closing fully or loads the lens unevenly.

So check three things before you open the gun: the gun brand and model, the lens size printed on your last lens order, and the old ring measured with a caliper across the outside, the inside and the thickness. A worn ring will measure a little thin, so if the reading falls between two sizes, go by the gun and lens. If they still do not agree, send us the gun model and the lens size through our quote request page before ordering.
What to have ready
- The new ring, still in its bag, and a new protective lens if the old one is marked. Our 20 x 3 mm lenses for Ospri and Relfar guns and the 18 x 2, 20 x 2 and 20 x 4 mm sizes come in 20 and 50 packs.
- Powder free gloves or finger cots, lens tissue and ethanol of at least 99.5 % or isopropyl alcohol.
- A plastic pick or a PTFE or acetal spatula. Seal makers warn that screwdrivers and other metal tools scratch seal faces and cause leaks.
- Clean masking tape or a dust cover for the opening in the gun.
- Oil free canned air or a rubber blower. Not the shop air line: Precitec says standard industrial compressed air leaves oil residue that burns into optics.
Fitting the ring, step by step
The sequence follows Durma's handheld welding lens procedure, with the seal ring steps added. Follow your gun's manual where it differs.
- Switch off. The laser must be off and the gun cool. These are Class 4 lasers.
- Clean your hands and the gun. Durma's procedure starts with washing your hands with detergent, then wiping around the protective lens drawer with a dust free cloth and alcohol, so dust on the body does not fall in when the drawer comes out.
- Pull the drawer. Loosen the screws or catch, slide the drawer out and set it on a clean, lint free cloth.
- Cover the opening. Put clean masking tape or a dust cover over the slot at once. The focusing lens is directly above it.
- Remove the lens and the old ring. Lift the lens out by its edge. Free the ring with the plastic pick from the inside edge and lift it out. Do not lever it out with a screwdriver against the drawer wall: a scratch in the seat leaks no matter how good the new ring is.
- Look at the old ring. Its condition tells you why it failed (see the diagram below).
- Clean the seat. Blow out loose spatter, then wipe the seat with lens tissue or a swab dampened in alcohol. A dry swab drags grit across the seat.
- Fit the new ring. Hold it by its edges with gloved fingers. Lay it square in the seat and press it down evenly all the way round with a fingertip or the plastic tool. Do not stretch it to fit, and do not pull it by one edge: Raytools warns its seal rings tear easily when pulled at the edge. The ring should sit flat with no high spot.
- Fit the lens. Hold it by the edge only. Check both faces under a torch for fingerprints before it goes in.
- Refit the drawer. Take the tape off, hold the gun with the head pointing down so nothing falls into the opening, and slide the drawer in straight until it reaches its stop. Tighten the screws or close the catch. If it will not close without force, the ring is too thick or not seated; take it out and check.

First weld checks
Turn on the red aiming light before you fire the laser. It should come out of the nozzle centred. Durma reports that when the scanning motor swings abnormally because of interference, or the red light is badly off centre and left unadjusted, the sealing ring generally burns out. A beam that clips the edge of the opening heats the drawer and the ring. If the red light is off centre, correct it before welding, or the new ring will go the way of the old one.
Then run a short weld on scrap at settings you know. Check that the shielding gas flows normally and that the weld looks as it did with a fresh lens. Durma lists a beam that starts strong and gradually weakens as a sign of lens damage, so a weld that fades over the first minutes means dirt or a damaged optic, not a bad ring. After the first hour of work, pull the drawer once and look at the lens. Durma links black dots on the lens to contamination let in during a change made without covering the opening.
Mistakes that cause early failure
- The wrong thickness. The 0.1 mm and 0.3 mm pairs above are the usual culprits. Measure, and keep the rings for each gun in their own labelled bag.
- Reusing the old ring. Heat and clamping give it a set, so it will not seal a new lens.
- Metal tools. A scratched seat or a nicked ring leaks fume to the focusing lens.
- Leaving the opening uncovered. Durma puts most protective lens damage down to slag backflow and contamination during replacement.
- Forcing the drawer. On cutting heads Precitec warns that pressing too hard when seating the ring can break the window. Let the drawer stop set the clamping force.
- Ignoring the red light. An off centre aiming light burns rings and lenses until it is fixed.
Raytools cutting head rings
Fiber laser cutting heads use the same idea at a larger size. For Raytools heads we stock the 11021M2110007 ring, 32.2 x 24 x 3.55 mm, for the 27.9 x 4.1 mm window in BT210S, BT240S, BM109, BM110 and BM111 heads, and the 11021M2110005 ring, 42.5 x 4 x 3.2 mm, for the 37 x 7 mm window in BM114, BM114S, BM115, BM06K and BS08K heads. The first is a high temperature elastomer ring sold in 5 packs; the second is a PTFE jacket with a stainless spring, in 1, 5 and 10 packs.
The fitting steps match the handheld procedure, and our guide on how to fit a fiber laser protective window covers the cutting head drawer in detail. One point matters more on a cutting head: Precitec notes the protective window is cooled by the cutting gas flowing around it, and a window frame that is not home to its stop lets the window vibrate under gas pressure and shifts the focal position. A ring of the wrong thickness causes the same fault. All our seal rings are in the laser seals collection, and lenses and windows are in the laser protective windows collection.
Frequently asked questions
How often should I change the seal ring on a handheld welding gun?
Change it whenever it is flattened, hard, discoloured or burned, and as a habit every few protective lens changes. Rings are cheap next to a focusing lens.
Can I fit a Qilin ring in a WSX gun?
No. Both rings are 20.5 x 16 mm, but the Qilin ring is 2.5 mm thick and goes with a 20 x 2 mm lens, while the WSX ring is 2.4 mm thick and goes with an 18 x 2 mm lens.
Does the ring need grease?
No. Keep grease, oil and silicone away from the lens drawer. Anything on the ring can migrate to the lens and burn into it.
Why did my seal ring burn on one side?
The beam is clipping the edge of the opening. Durma links burned seal rings to abnormal scanning motor swing and an aiming light that is off centre. Fix the alignment before fitting the next ring.
